Click on the network connection icon in the system tray and select “Network and Internet Settings” in the pop-up window.
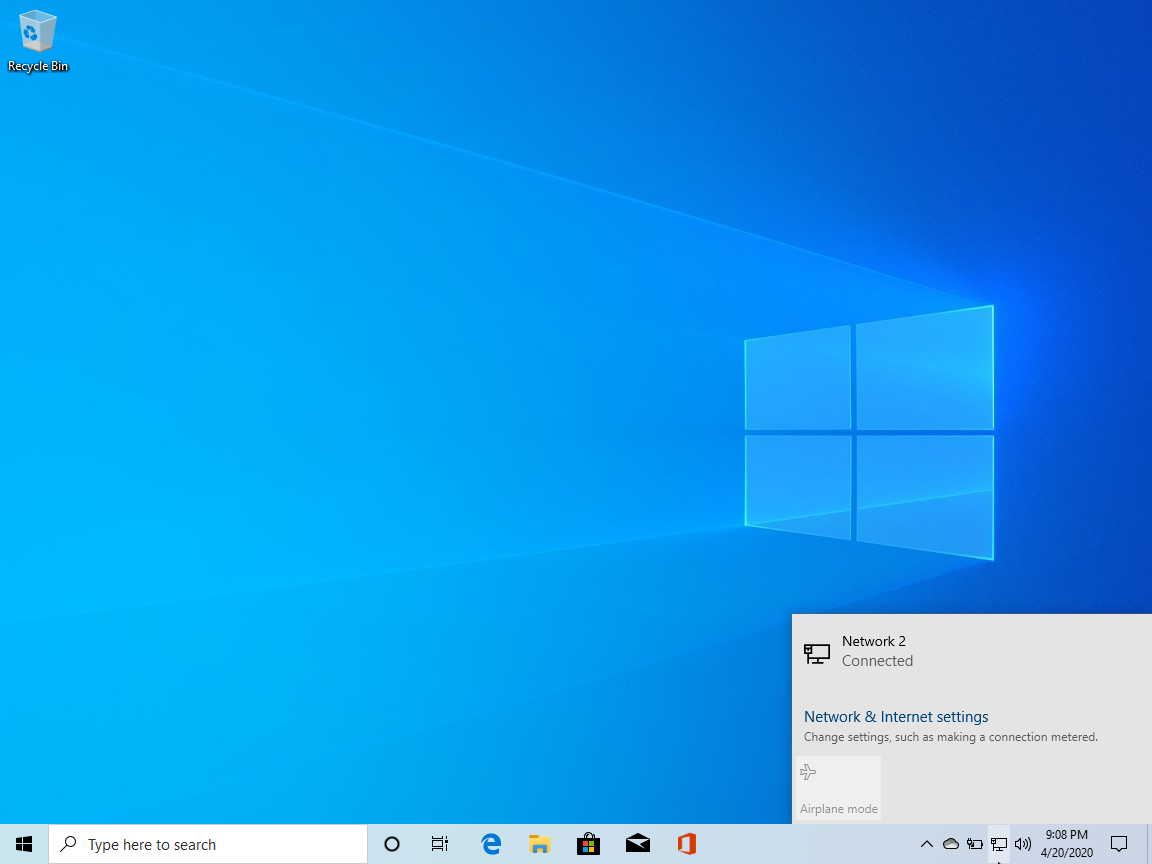
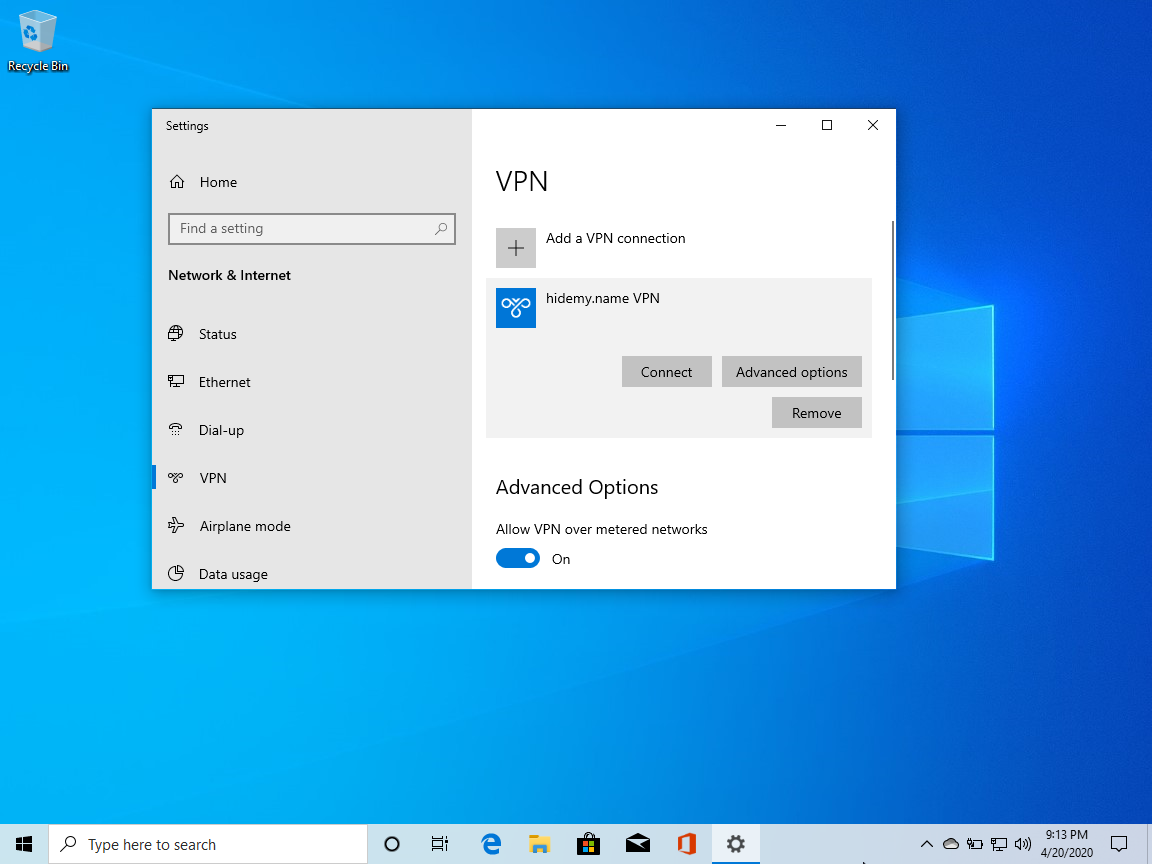
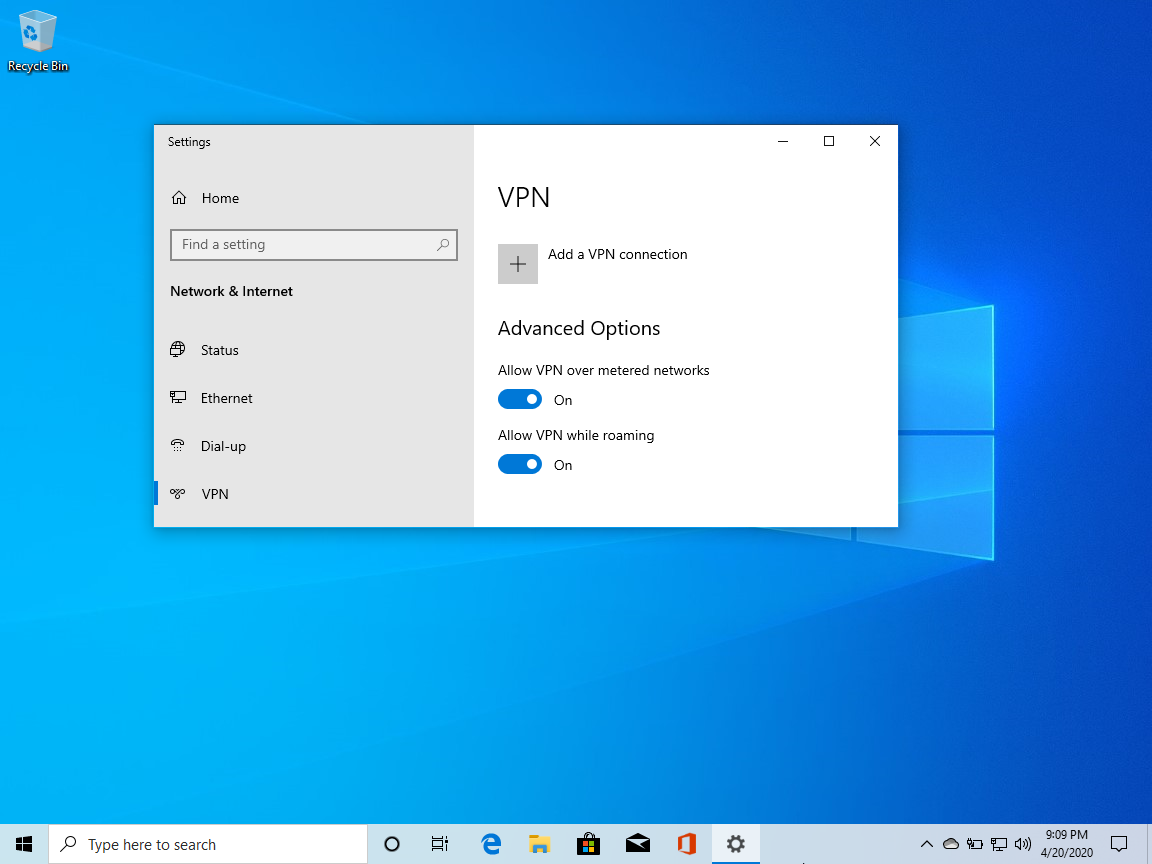
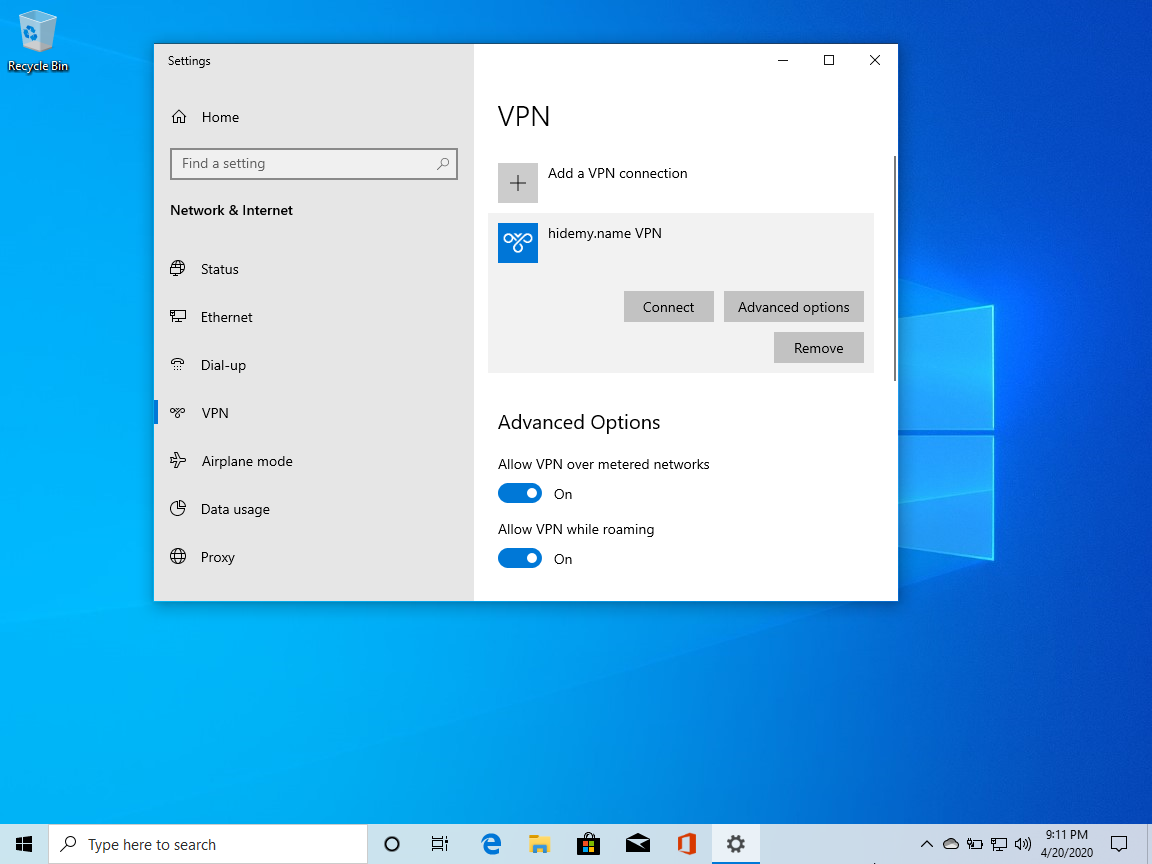
In the "Network and Internet" window, select "VPN", and then Add a VPN connection on the right.
Enter the access code and press the blue button. Where to get the code? Get it after payment or request free trial period.
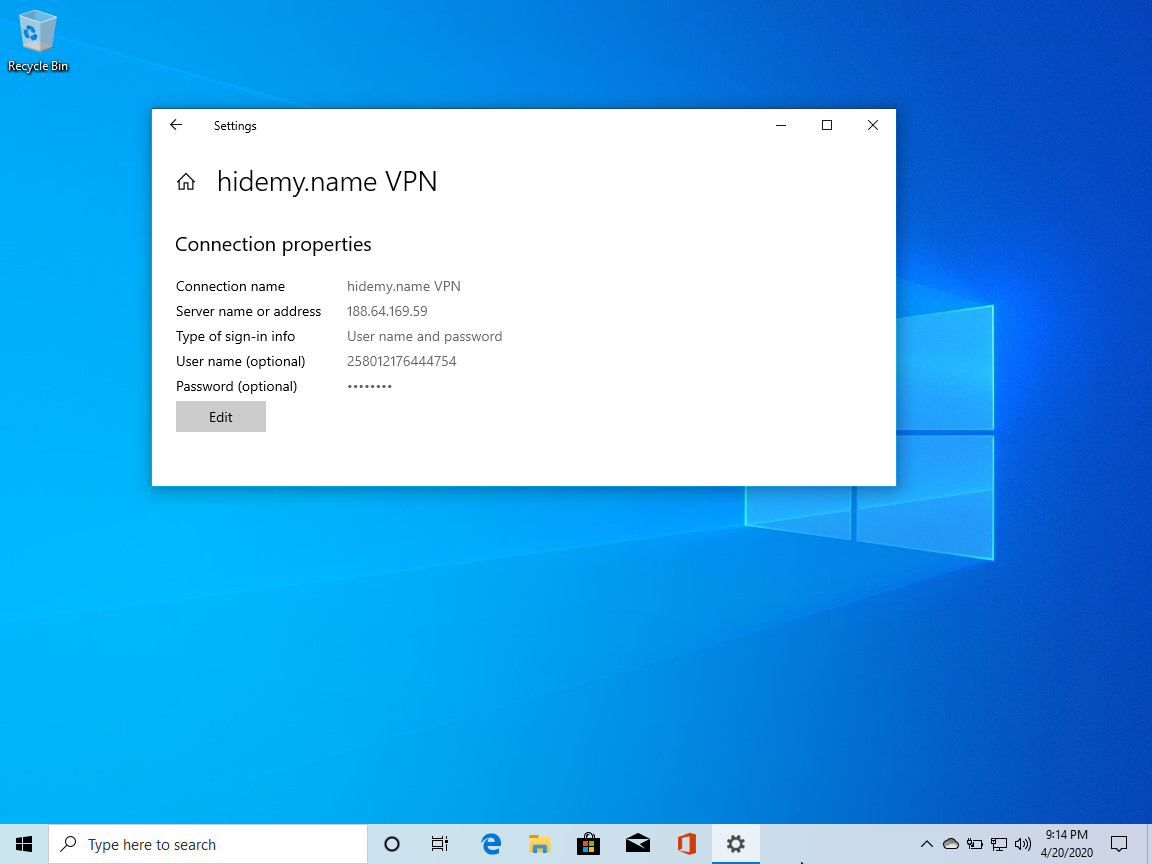
Below you will see your username, password, a link to a list of servers and other information.
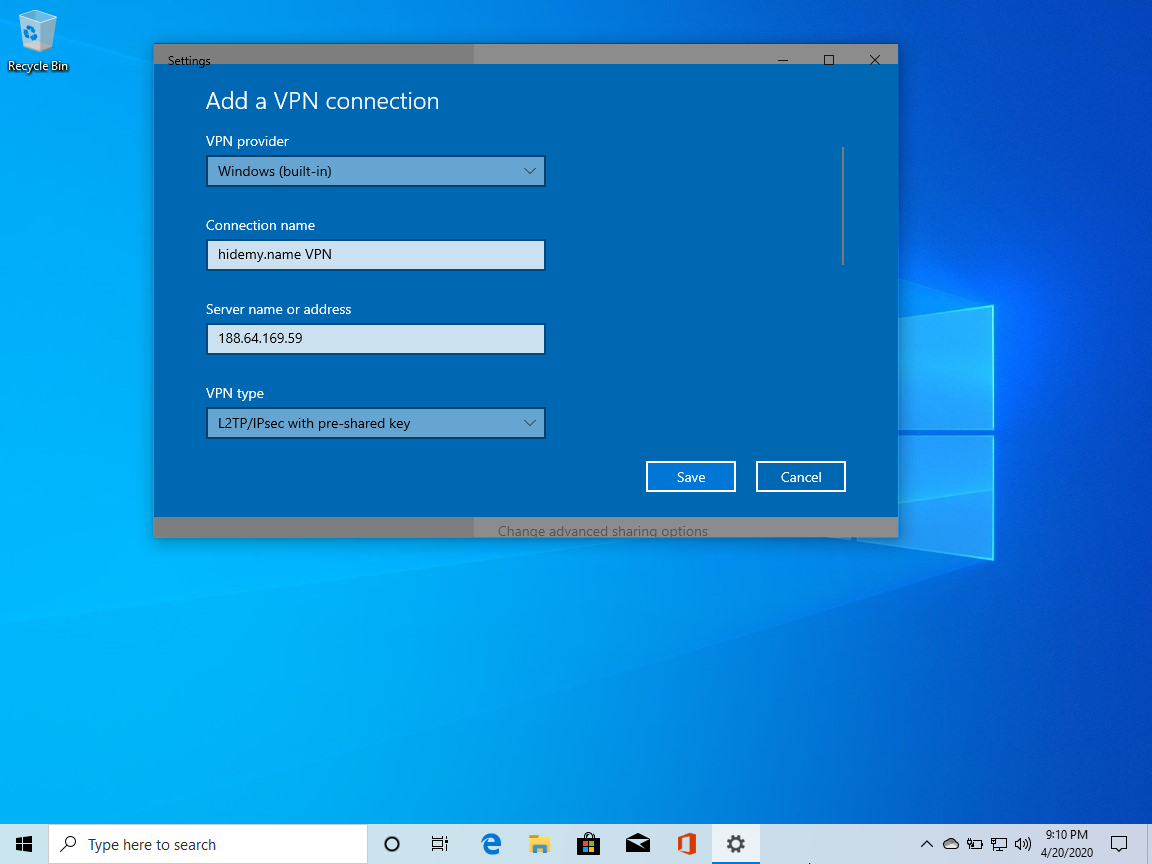
Fill in the fields. You can select any connection name and server from the available ones:
- VPN Service Provider : Windows (Embedded)
- Connection name : any, for example, “hidemy.name VPN” or the name of the server that you will use.
- Server name or address : select a server
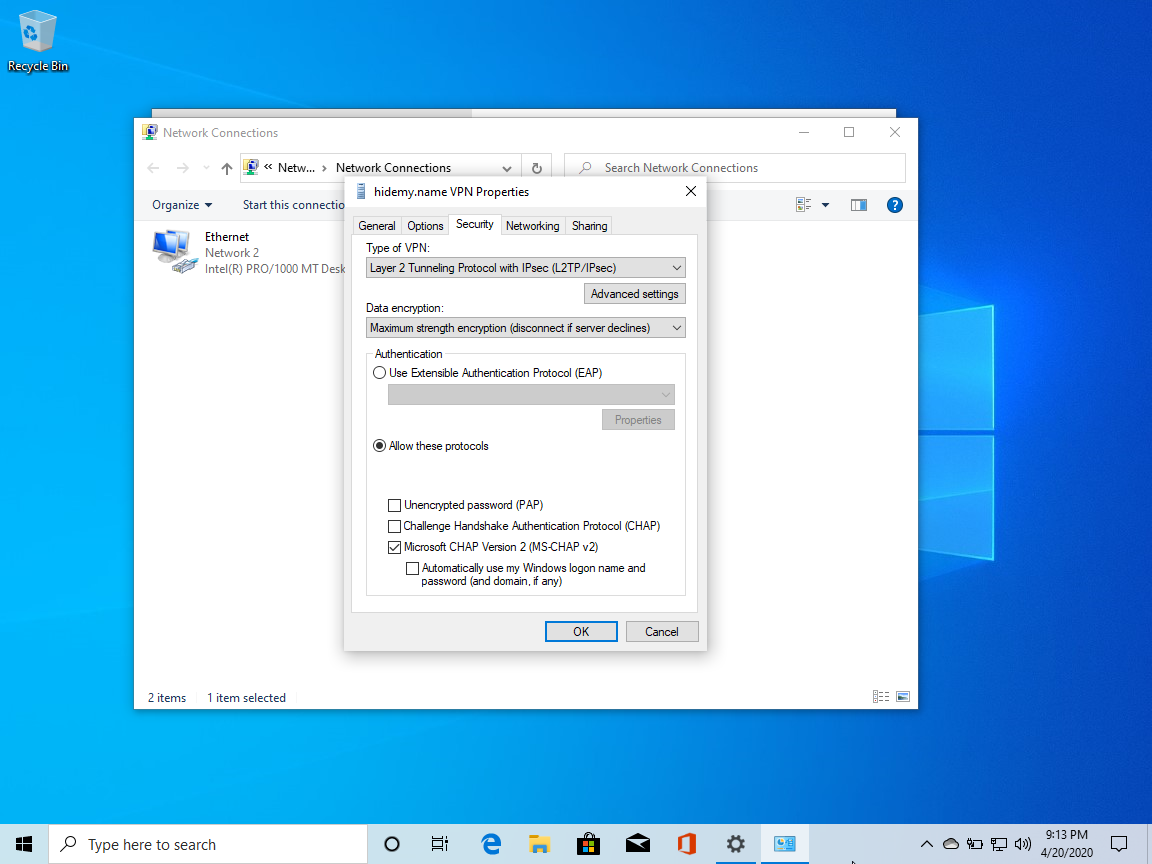
- Type of VPN : L2TP / IPsec with a preliminary key
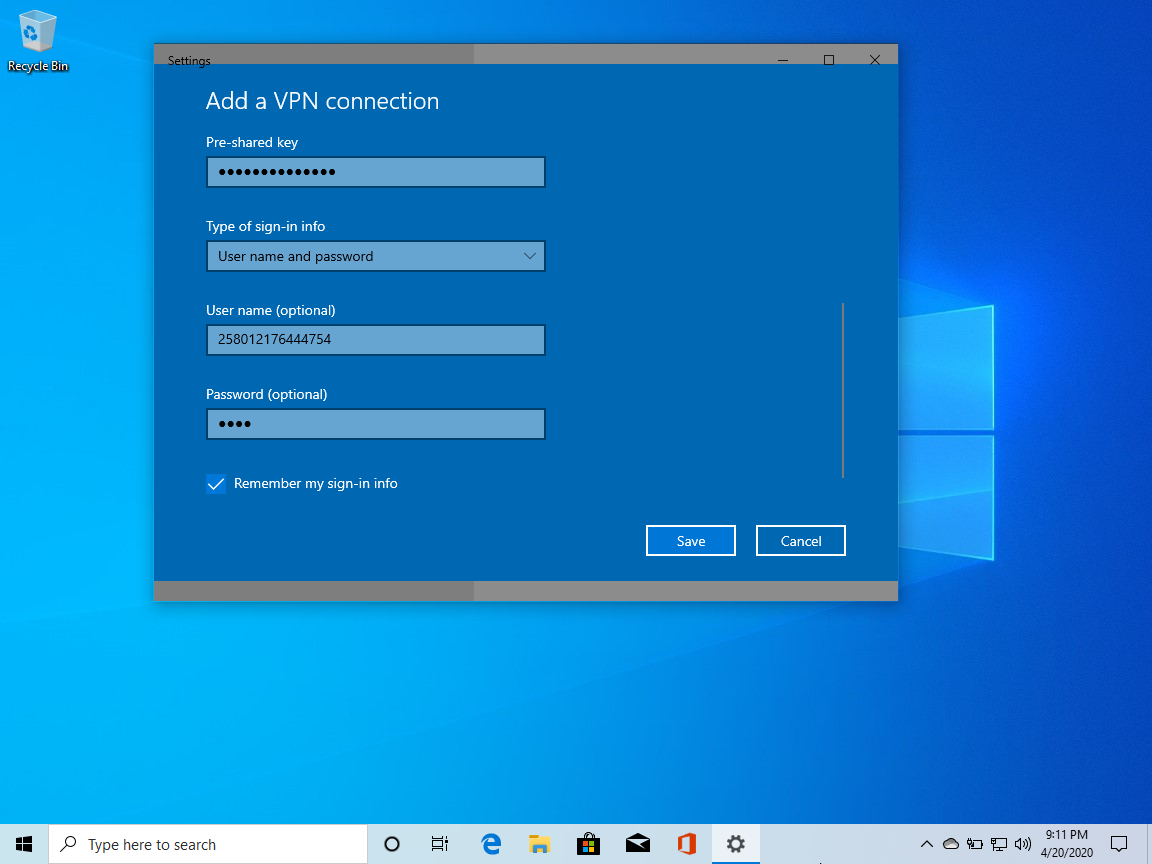
Enter authorization information:
- Shared Key : incloaknetwork
- Login Data Type : Username and Password
- Username : 1234567890
- Password : *****
Check the box " Remember my login details " and click "Save."
Basic setup is complete! Select the connection profile you just created and click Connect.
Note: Once connected, your IP address should change. Be sure to verify this using our IP test . If this does not happen, double-check the correctness of the entered data.
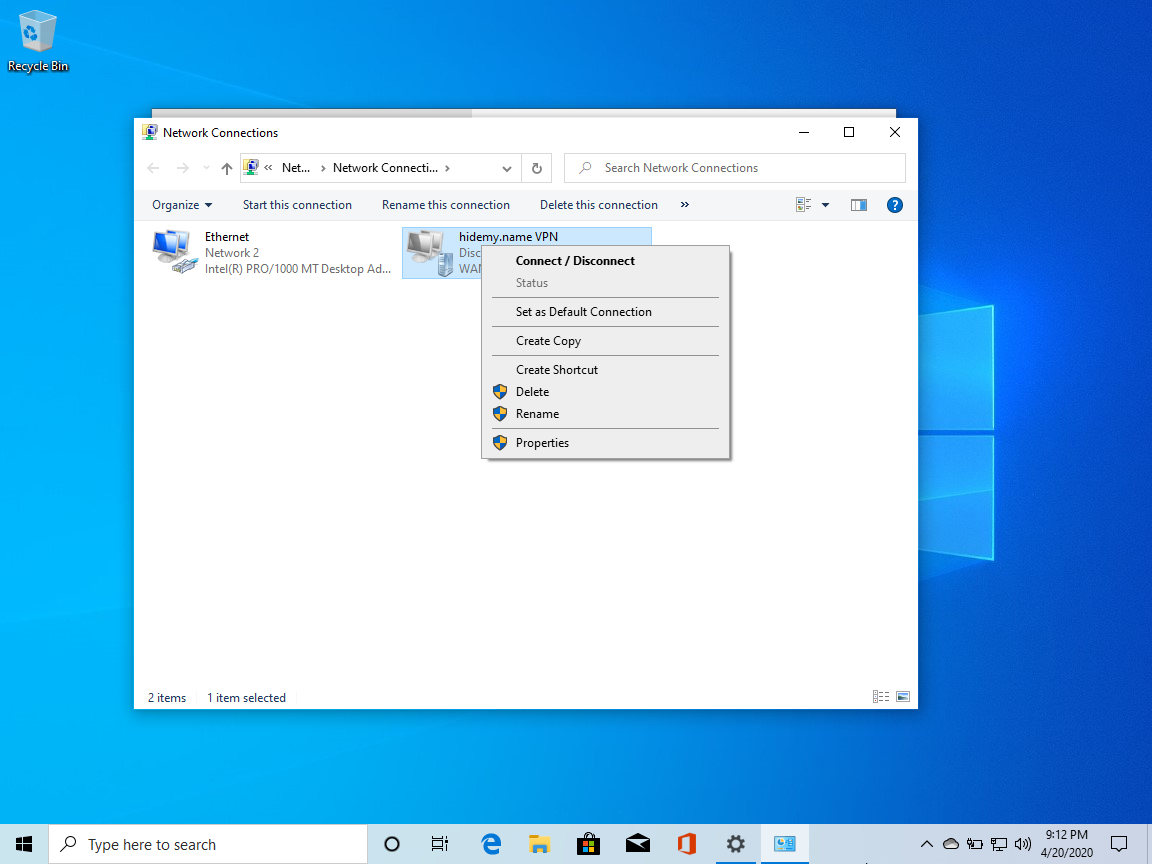
In the future, you do not need to repeat all the steps to change the server. You can edit the connection and enter other servers (see "Selecting a VPN server" below).